Setting Up a Cozy Reading Nook: Creating a Magical Space for Learning and Imagination
Creating a cozy reading nook for your child is a delightful and rewarding project. It’s a space where they can dive into their favorite books, embark on exciting adventures, and learn valuable lessons in comfort. With a little creativity and planning, you can transform a simple corner of your home into a magical haven for your little one.
Choosing the Perfect Spot
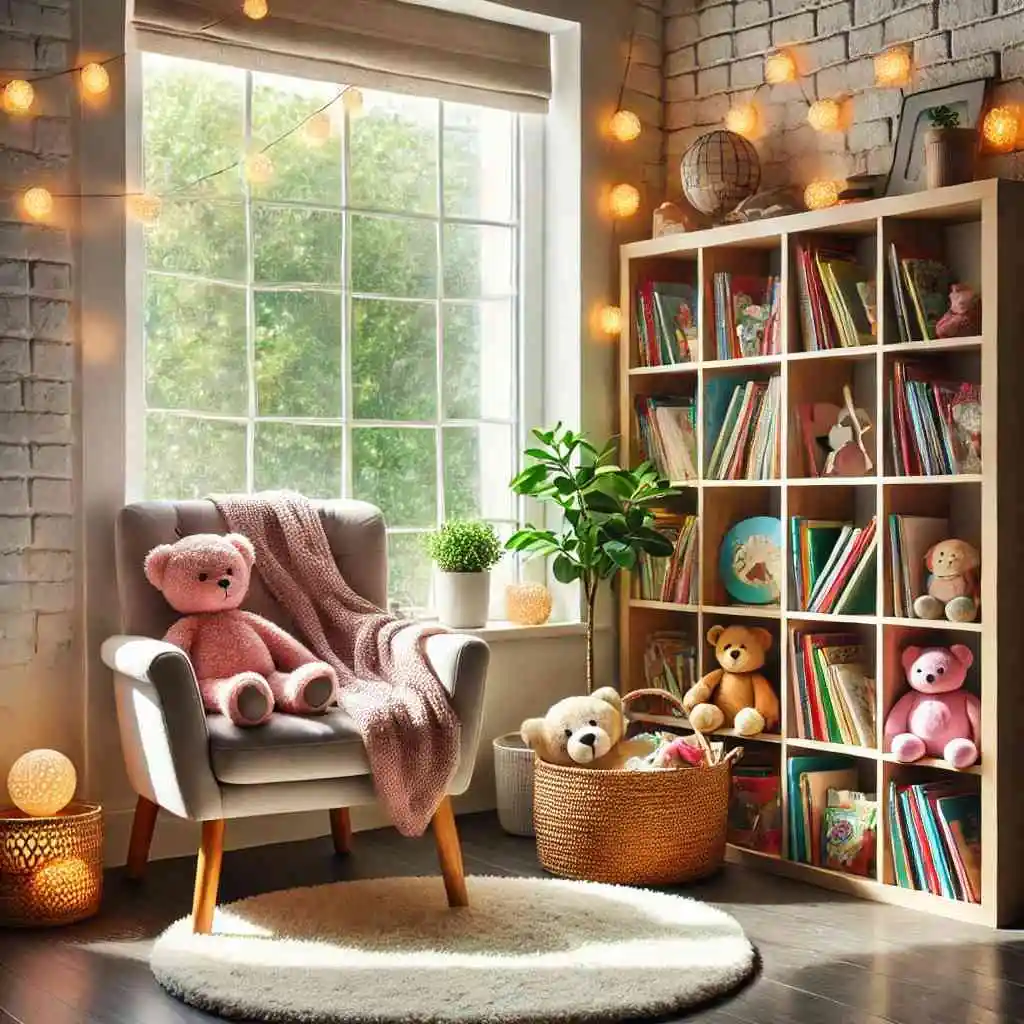
The first step in setting up a cozy reading nook is finding the perfect spot. You want a quiet, comfortable area that’s away from the hustle and bustle of daily life. It could be a corner of their bedroom, a space in the living room, or even a small, unused closet. The key is to choose a location that feels special and inviting.
Once you’ve chosen the spot, think about the natural light. A nook near a window is ideal, providing plenty of daylight for reading. If a window isn’t an option, don’t worry. You can create a warm and inviting atmosphere with soft, ambient lighting. Consider using fairy lights, a cute lamp, or a reading light that can be adjusted for different times of the day.
Comfy and Inviting Seating
Comfort is crucial when it comes to a reading nook. After all, your child will be spending hours immersed in their favorite stories. Choose seating that’s cozy and inviting. Bean bags, oversized cushions, or a small, comfy armchair are excellent options. You could also use a soft, plush rug with lots of throw pillows, allowing your child to stretch out and get comfortable.
For a unique touch, consider a small tent or a teepee. These create a sense of adventure and a private hideaway for your child. They add an element of fun and excitement to the reading nook, making it even more appealing. Remember, the goal is to create a space where your child feels happy and relaxed.
Personalizing the Space

A cozy reading nook should reflect your child’s personality and interests. Encourage them to help you decorate the space with their favorite colors, patterns, and themes. You can use wall decals, posters, or framed artwork to add a personal touch. Let your child choose the decorations to make the space truly their own.
Bookshelves or storage bins are essential for keeping books organized and within easy reach. Low shelves or bins allow your child to see and access their books independently, fostering a sense of ownership and responsibility. You can also include a small table or a lap desk for drawing or writing, adding another layer of functionality to the nook.
Adding the Finishing Touches
To make the reading nook extra special, add a few finishing touches. Soft blankets and throws add warmth and comfort, making the space even cozier. A basket of stuffed animals or favorite toys can make the nook feel inviting and familiar. You could also include a bulletin board or a small chalkboard for your child to express their creativity.
Consider adding a small plant or two to bring a touch of nature into the nook. Plants can make the space feel more serene and welcoming. Choose low-maintenance plants that are safe for children, like succulents or ferns. These little details can make a big difference in creating a space your child will love.
Encouraging Reading Habits

Once the reading nook is set up, encourage your child to use it regularly. Make reading a special time of day, whether it’s before bedtime or a quiet afternoon activity. Join them in the nook and read together, creating a bonding experience that they will cherish. Celebrate their reading milestones and introduce new books to keep their interest alive.
You can also rotate books based on their interests or the seasons. For instance, during the holidays, include festive books that match the season. This keeps the reading nook fresh and exciting, encouraging your child to explore new stories and themes.
Involving Your Child in the Process
Involving your child in setting up the reading nook can be a fun and rewarding experience. Let them help choose the spot, the seating, and the decorations. This not only makes the nook more personal but also gives them a sense of pride and ownership. They’ll be more excited to use the space if they’ve had a hand in creating it.
Creating a Routine
Establishing a reading routine can help make the reading nook a central part of your child’s daily life. Set aside a specific time each day for reading, whether it’s in the morning, after school, or before bed. Consistency helps build a habit and makes reading a cherished part of their day.
In conclusion, setting up a cozy reading nook is a wonderful way to encourage a love of reading in your child. With a little creativity and some thoughtful planning, you can create a magical space where they can explore new worlds, learn valuable lessons, and develop a lifelong love of books. So, grab some cushions, pick out a few favorite books, and get started on creating your perfect reading nook today!
Incorporating Safety into Daily Routines
Safety is a crucial aspect of our lives, especially for our little ones. But how can we incorporate it into our daily routines without making it seem like a chore? Here are some fun and easy ways to weave safety lessons into everyday activities. By doing so, you can ensure that your child learns important safety habits in a natural and engaging way.
Morning Routine: Starting the Day Safely

The morning routine sets the tone for the rest of the day. You can start incorporating safety habits right from the moment your child wakes up. For instance, teach them the importance of washing their hands thoroughly before breakfast. Explain how this simple act can prevent germs from spreading. You can even turn it into a fun song or a game to make it more engaging.
When getting dressed, you can talk about the importance of wearing appropriate clothing for different weather conditions. Explain why we wear warm clothes in winter and lighter clothes in summer. You can even let them choose their outfit while discussing how each item helps keep them safe and comfortable.
Breakfast time is another opportunity to discuss safety. Teach your child the importance of sitting down while eating and chewing food properly to avoid choking. You can also introduce the concept of food safety by explaining why we wash fruits and vegetables before eating them.
Safety During Playtime: Learning Through Fun
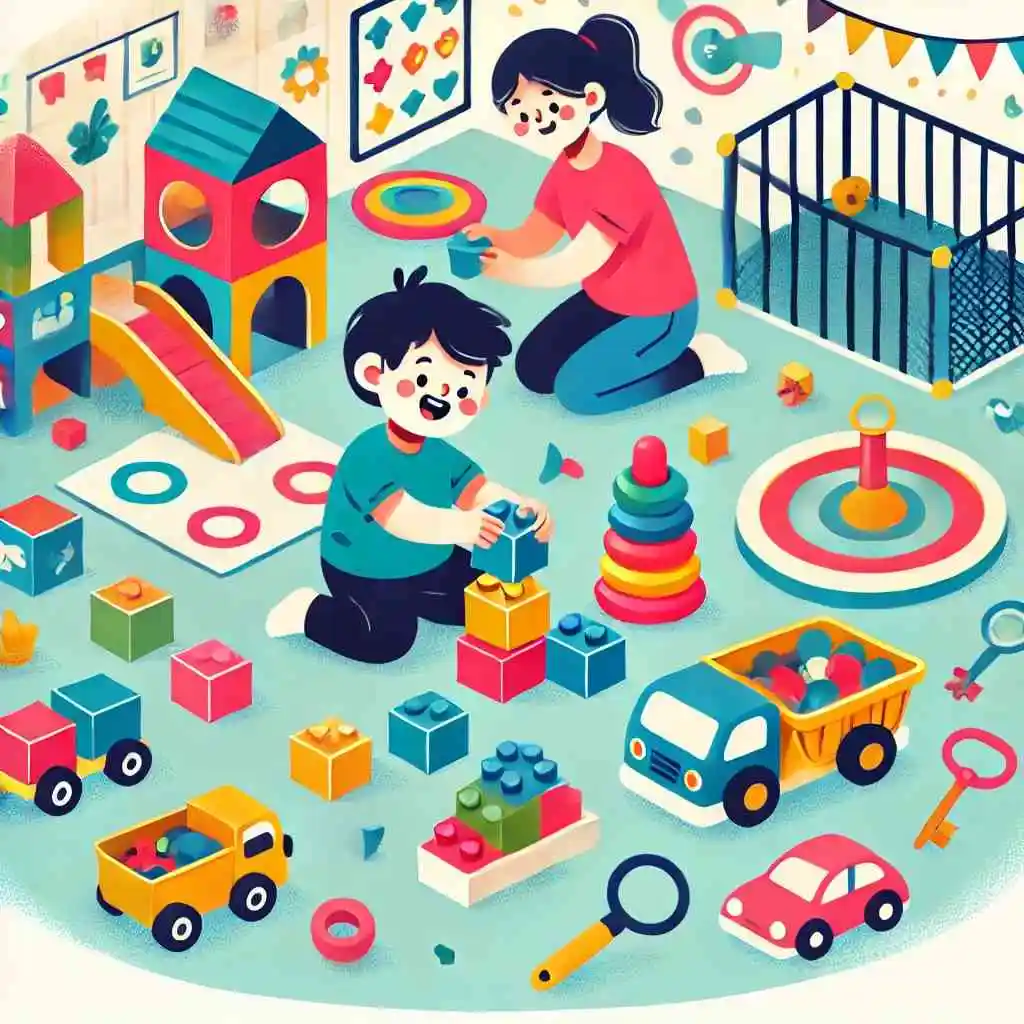
Playtime is not just about having fun; it’s also a great time to learn about safety. Start by creating a safe play area where your child can explore without getting hurt. Remove any sharp objects and ensure that toys are age-appropriate.
While playing, you can introduce simple safety rules in a playful manner. For example, if you’re playing with building blocks, you can talk about the importance of putting toys away after playing to avoid tripping over them. Turn it into a fun cleanup game where everyone participates.
You can also use playtime to teach your child about stranger danger. Role-playing games can be very effective here. Pretend to be different characters and practice scenarios where your child needs to identify and respond to strangers. This way, they learn to stay safe without feeling scared.
Bedtime Routine: Ending the Day Safely
The bedtime routine is another excellent opportunity to reinforce safety habits. Start by creating a calm and safe sleeping environment. Ensure that the bed is comfortable and free of any objects that might cause harm.
You can introduce the concept of fire safety by explaining why we check that all appliances are turned off before going to bed. Make it a part of your nightly routine to walk around the house and ensure everything is safe. This not only teaches your child about fire safety but also gives them a sense of responsibility.
Bedtime stories can be a great tool for teaching safety. Choose stories that incorporate safety lessons in a subtle and engaging way. Discuss the story afterward and talk about the safety message it conveys. This helps reinforce the lessons in a relaxed and enjoyable manner.
Everyday Conversations: Casual Chats About Safety

Apart from structured routines, everyday conversations offer numerous opportunities to teach your child about safety. Be mindful of moments throughout the day when you can casually discuss safety topics. For instance, while cooking, you can talk about kitchen safety and the importance of staying away from hot surfaces.
When going out, whether it’s a trip to the park or a grocery store, use these outings as teaching moments. Explain the importance of holding hands while crossing the street, staying close to you in crowded places, and recognizing safe places to seek help if they ever get lost.
You can also involve your child in safety planning. Discuss emergency plans in a simple and non-scary way. Practice what to do in case of a fire or any other emergency. This not only prepares them for unexpected situations but also empowers them to feel confident and secure.
Making Safety Fun: Creative Ideas
Safety doesn’t have to be boring. You can make it fun and engaging by using creative ideas. For instance, create a safety scavenger hunt where your child has to find and identify safe and unsafe items around the house. This turns learning into a game and makes it more enjoyable.
Use songs and rhymes to reinforce safety messages. Kids love music, and catchy tunes can help them remember important safety rules. You can make up your own songs or find existing ones that cover topics like washing hands, crossing the street, or cleaning up toys.
Another fun idea is to create safety-themed arts and crafts projects. For example, you can make traffic lights out of colored paper and use them to teach about road safety. Or, you can create a family safety poster with rules and tips that everyone can contribute to.
Involving the Whole Family: A Team Effort
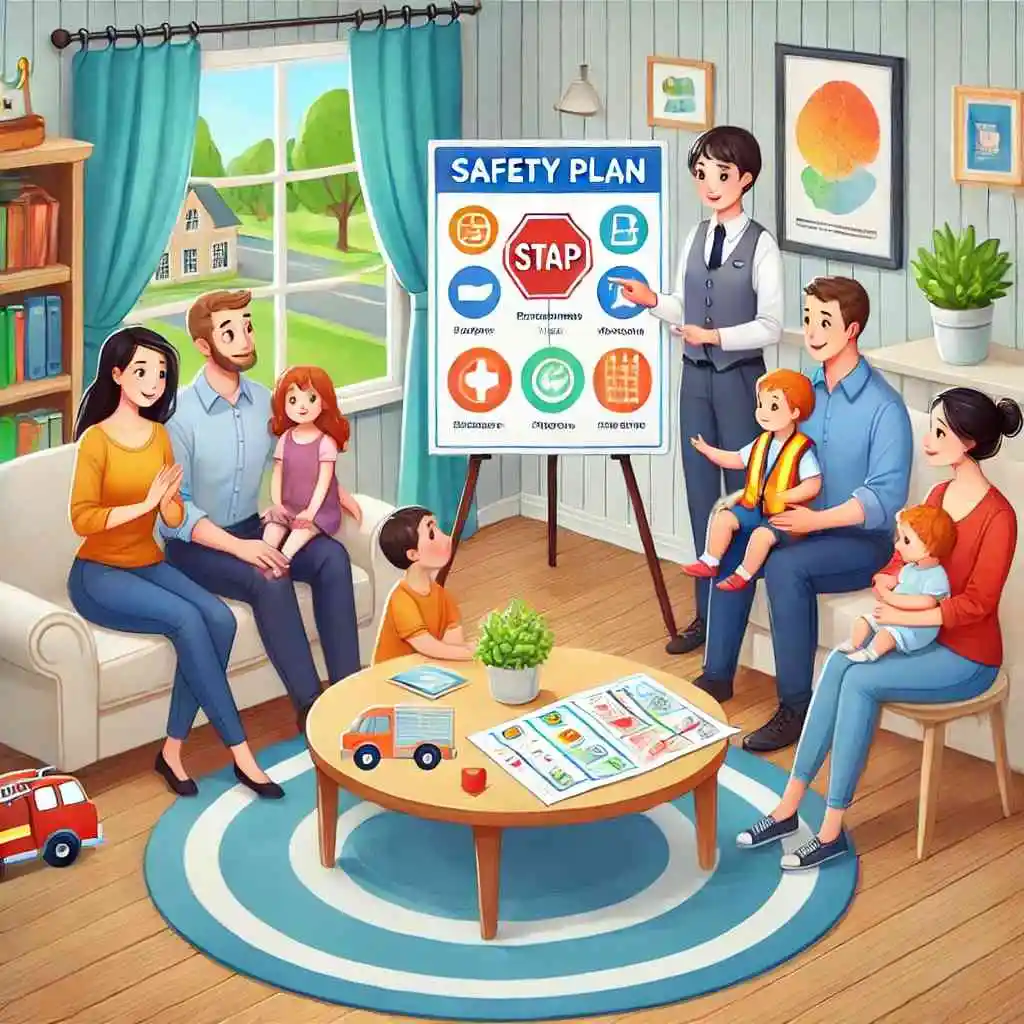
Safety is a team effort, and involving the whole family makes it more effective. Encourage older siblings to help teach younger ones about safety. This not only reinforces the lessons for the older kids but also creates a sense of responsibility and teamwork.
Make safety a regular topic during family meetings. Discuss any safety concerns and come up with solutions together. This ensures that everyone is on the same page and working towards creating a safe environment.
You can also participate in community safety events or workshops. These events often offer valuable information and resources that can help you reinforce safety habits at home. Plus, they provide an opportunity for your child to see that safety is important to everyone.
Consistency is Key: Reinforcing Safety Habits
The key to successfully incorporating safety into daily routines is consistency. Repetition helps reinforce the lessons and makes them a natural part of your child’s behavior. Be patient and persistent, and remember to praise your child when they follow safety rules.
Set a good example by practicing safety habits yourself. Children learn a lot by observing their parents, so make sure you’re modeling the behavior you want to see in them. This includes wearing seatbelts, using safety equipment, and following household safety rules.
By making safety a regular part of your daily routines, you can help your child develop lifelong habits that will keep them safe and secure. It’s all about finding the right balance between education and fun, so your child learns to stay safe without feeling overwhelmed or scared.
DIY Safety Crafts and Projects
Crafting can be a fun and educational way to teach kids about safety. By engaging in DIY safety crafts and projects, you can create memorable experiences while instilling important lessons. Let’s dive into some exciting and simple craft ideas that will not only keep your little ones entertained but also boost their safety awareness.
Create Your Own Reflective Gear
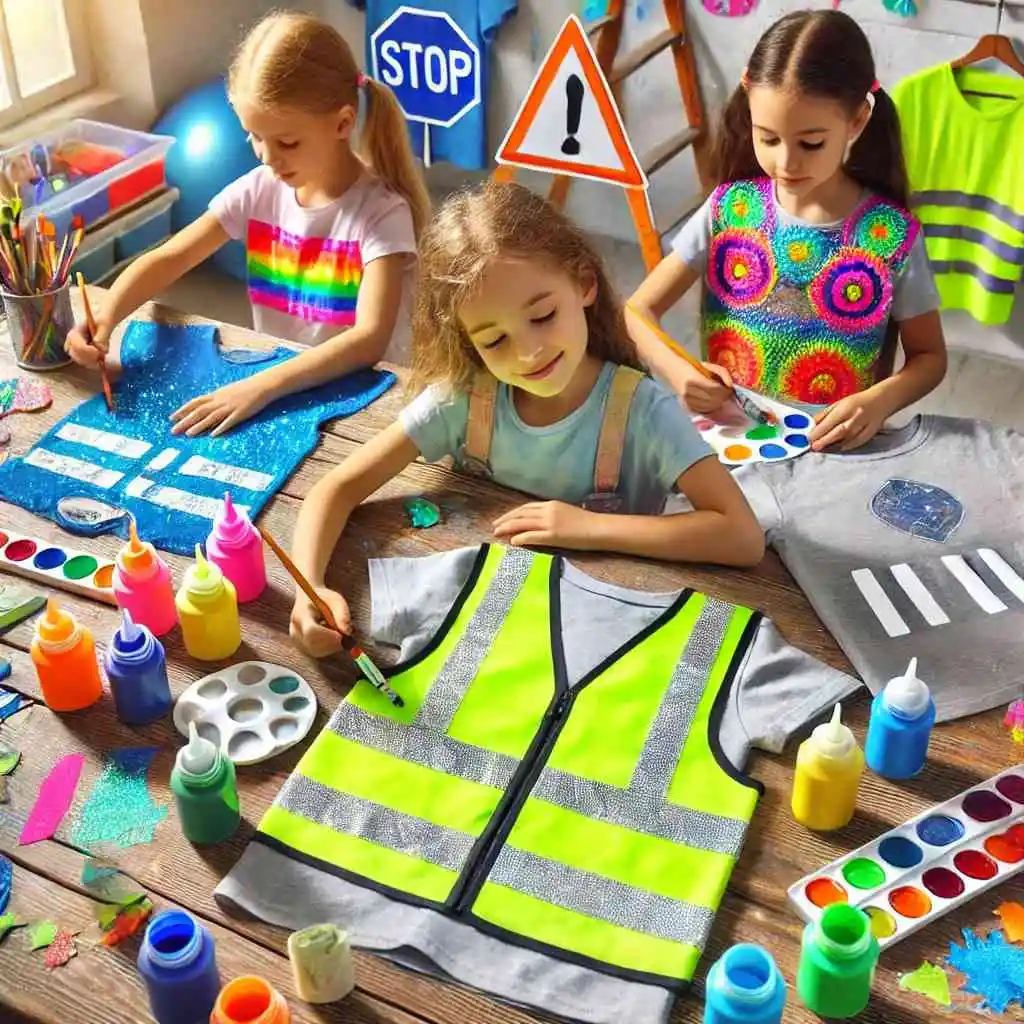
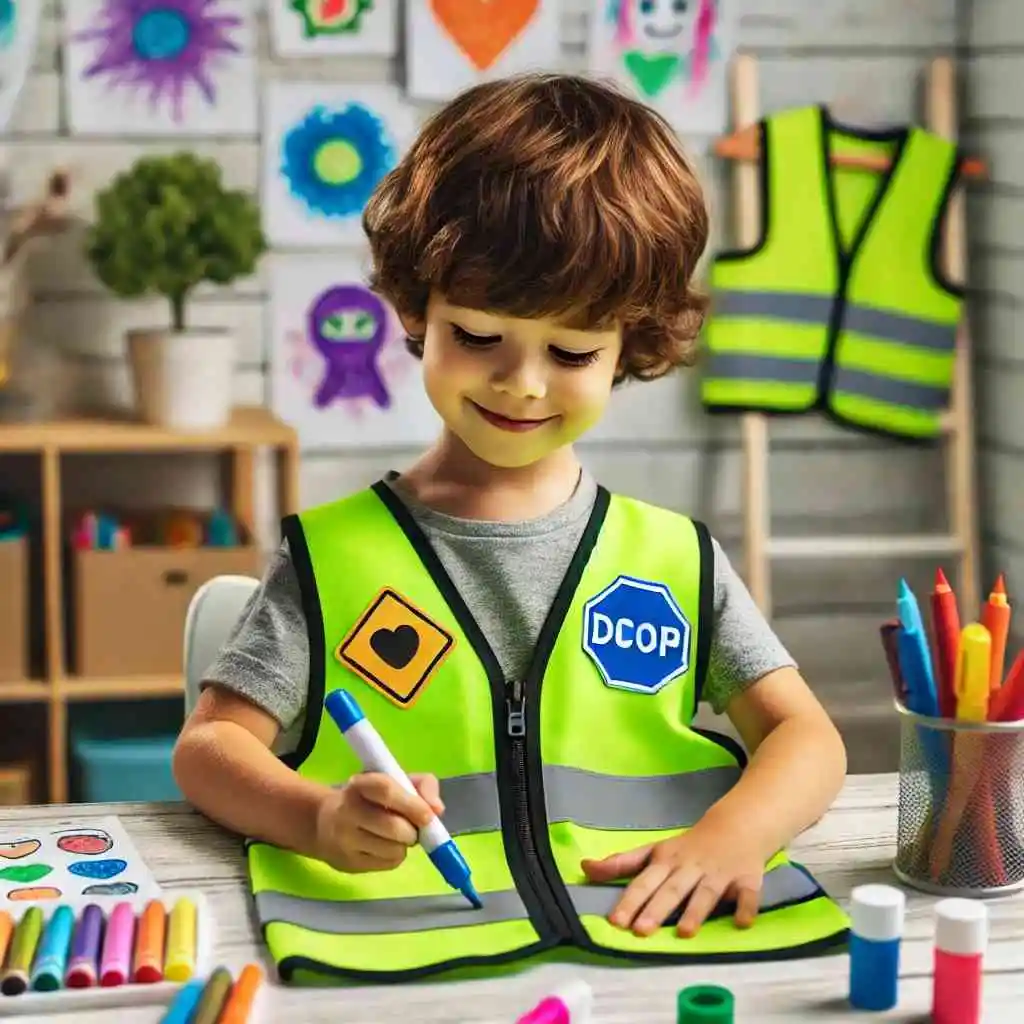
One great project is making personalized reflective gear. Reflective gear is essential for keeping kids visible during nighttime activities. Start with a plain T-shirt or jacket, and gather some reflective tape, fabric paint, and stencils. Let your kids design their own patterns or messages on the clothing using the reflective tape and paint. This activity not only unleashes their creativity but also highlights the importance of being seen at night. As they proudly wear their customized reflective gear, they’ll remember the lesson of staying safe and visible.
Build a DIY First Aid Kit
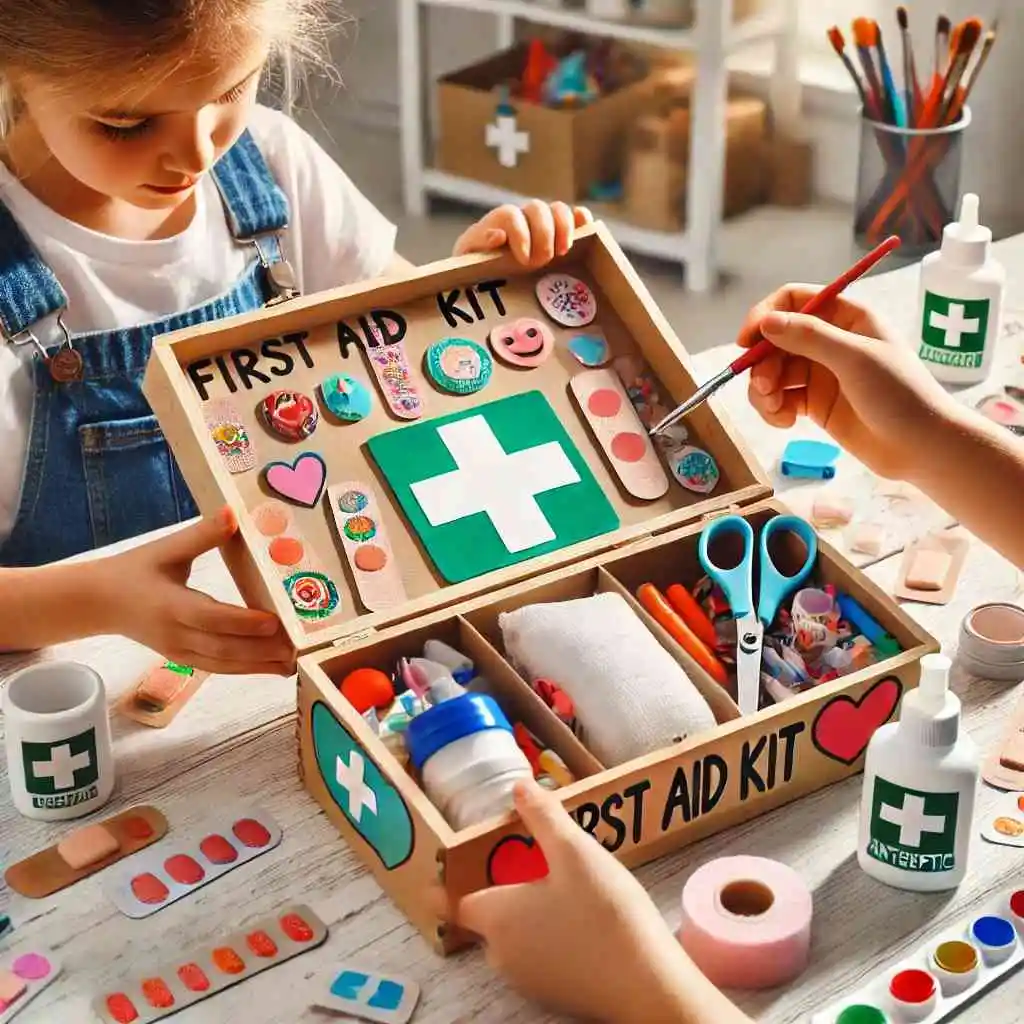
Building a DIY first aid kit is another excellent project. Start with a small, durable box and decorate it with stickers, markers, or paint. Fill it with essentials like band-aids, antiseptic wipes, gauze, and a small flashlight. As you put the kit together, explain the purpose of each item and how it can be used in an emergency. This hands-on activity not only teaches kids about the contents of a first aid kit but also emphasizes the importance of being prepared for minor injuries. Plus, having a personalized first aid kit at home will give them a sense of responsibility and readiness.
Design Safety Posters
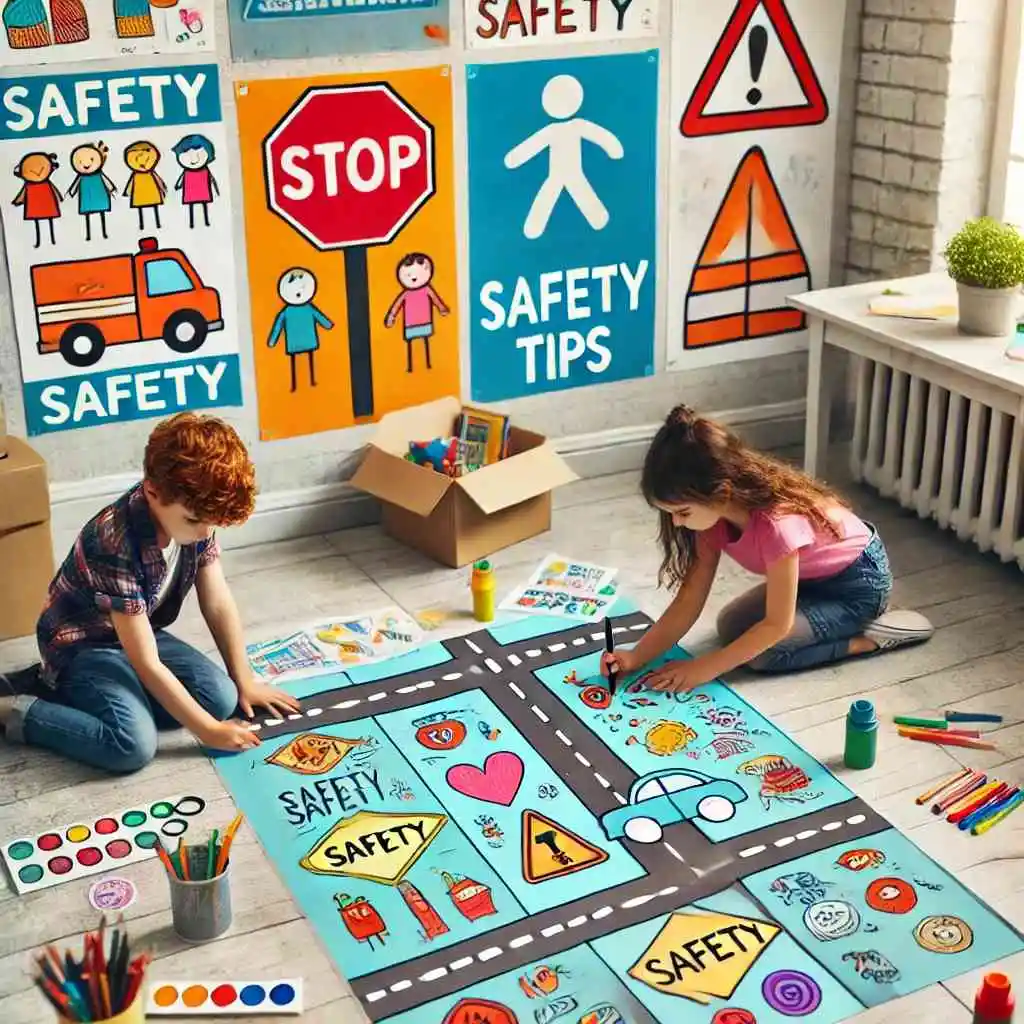
Designing safety posters is a fantastic way for kids to learn about different safety rules. Provide them with large sheets of paper, markers, crayons, and stickers. Encourage them to create posters that illustrate safety tips, such as “Look Both Ways Before Crossing the Street” or “Always Wear a Helmet When Biking.” This activity helps reinforce safety messages in a creative and engaging manner. Once the posters are complete, hang them around the house as constant reminders of the safety lessons they’ve learned. Not only will this brighten up your home, but it will also keep safety at the forefront of their minds.
Make Emergency Contact Cards
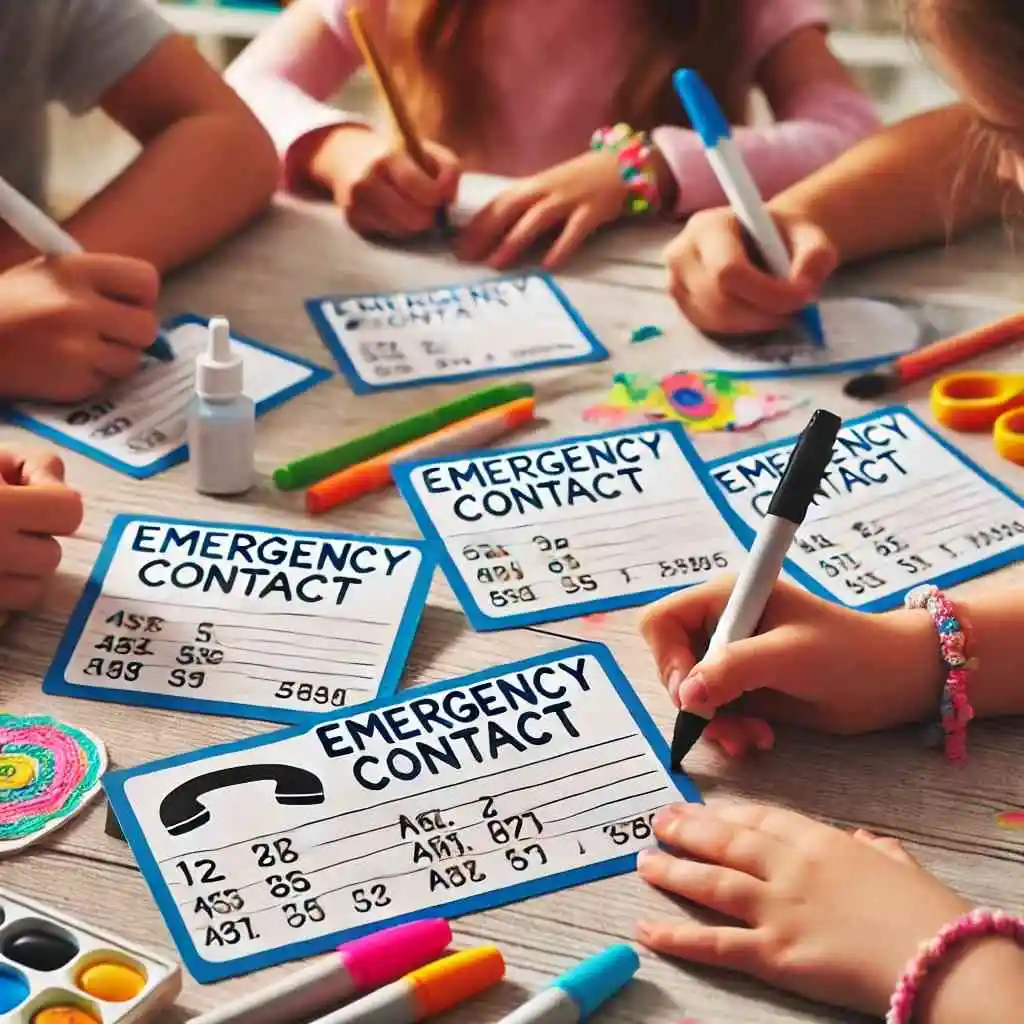
Creating emergency contact cards is a practical and informative craft. Using index cards or small pieces of cardstock, help your kids write down important contact information, such as phone numbers for parents, guardians, and emergency services. Decorate the cards with colorful designs and laminate them for durability. This project teaches children the importance of knowing how to reach help in case of an emergency. By carrying their personalized contact cards, they’ll feel more secure and prepared.
Construct a Safety Town
Constructing a miniature safety town is an engaging and educational project. Gather some cardboard boxes, paint, and craft supplies to create buildings, roads, and traffic signs. As you build the town together, discuss the various safety rules related to each element, such as pedestrian crossings, traffic lights, and safe places to play. This hands-on project allows kids to visualize and understand safety in a tangible way. Plus, they’ll have a blast creating their own little town!
Make a Safety-Themed Scrapbook
Making a safety-themed scrapbook is a wonderful way to document and review safety lessons. Collect photos, drawings, and notes from your various safety activities and crafts. Help your kids organize these into a scrapbook, adding captions and stickers to make it fun and colorful. This activity not only reinforces the lessons they’ve learned but also creates a keepsake that they can look back on. The process of putting together the scrapbook will help cement the safety concepts in their minds.
Craft Fire Safety Plans
Crafting a fire safety plan is a crucial and informative project. Use a large sheet of paper to draw a floor plan of your home. Together with your kids, mark all the exits and discuss the best escape routes in case of a fire. Color-code the routes and label the meeting points outside the house. This activity teaches children the importance of having an emergency plan and knowing how to execute it. By visualizing and practicing the plan, they’ll be better prepared to act quickly and safely in an emergency.
Conclusion
Engaging in DIY safety crafts and projects is a fantastic way to teach kids essential safety lessons in a fun and memorable manner. These activities not only foster creativity but also instill a sense of responsibility and preparedness. By incorporating these projects into your routine, you’ll help your children understand the importance of safety while enjoying quality time together. So, gather your craft supplies, and let’s get started on making safety fun and exciting!
Using Interactive Toolkits to Enhance Learning
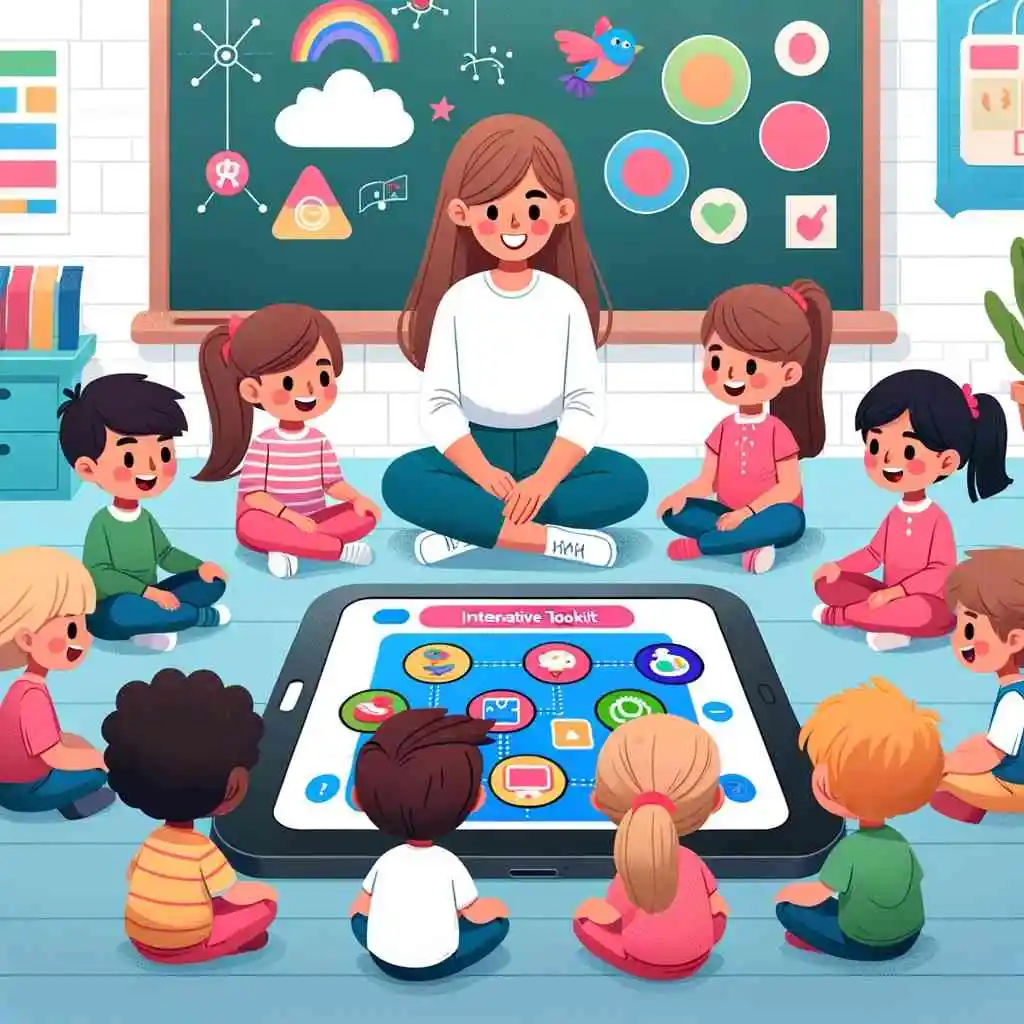
When it comes to teaching children important life lessons, interactive toolkits are your secret weapon. They are engaging, educational, and fun. Interactive toolkits can transform any learning experience into an exciting adventure. These toolkits are specially designed to capture your child’s imagination while teaching them valuable skills. Whether it’s about safety, dealing with loss, or fostering awareness, these toolkits make learning a joyous activity. Let’s dive into how you can use them effectively and why they are so beneficial.
Why Interactive Toolkits Work Wonders

Children learn best when they are actively involved in the process. Interactive toolkits tap into this natural inclination by providing hands-on activities. These activities not only teach important concepts but also help children retain information longer. For example, a safety-themed toolkit might include puzzles, games, and storytelling prompts. These elements work together to make safety lessons memorable and enjoyable.
You’ll find that using interactive toolkits can also strengthen your bond with your child. Working through the activities together creates opportunities for meaningful conversations. It gives you a chance to see how your child thinks and responds to different scenarios. This can be especially useful when discussing tough topics like stranger danger or loss.
Making Learning Fun and Engaging
One of the best things about interactive toolkits is that they make learning fun. Children often see educational activities as boring or tedious. However, when learning is disguised as play, it becomes something they look forward to. Toolkits often include colorful, engaging materials that attract children’s attention. They might contain cards, stickers, and activity books that are visually appealing.
Imagine your child learning about fire safety through a game where they help a character navigate a maze to safety. Or perhaps they learn about the importance of staying visible at night by decorating a reflective vest. These activities turn abstract concepts into tangible experiences. They help children understand and remember what they’ve learned.
Creating a Routine with Toolkits
Consistency is key when it comes to learning. Establishing a regular routine with interactive toolkits can reinforce the lessons. You might set aside a specific time each week to work through a new activity. This not only builds a habit but also ensures that learning is a continuous process.
You can also use the toolkits to create themed weeks or months. For instance, you might dedicate one month to learning about safety and the next to understanding emotions. This approach keeps things fresh and exciting for your child. It also allows you to cover a wide range of topics over time.
Tailoring Toolkits to Your Child’s Needs
One of the great things about interactive toolkits is their flexibility. You can tailor the activities to suit your child’s interests and learning style. If your child loves animals, you might choose a toolkit that teaches safety lessons through stories about forest creatures. If they enjoy art, look for toolkits that include drawing and coloring activities.
Customizing the toolkit activities can make learning more relatable and engaging for your child. It shows them that learning can be a part of their everyday interests and hobbies. This personalized approach can make a big difference in how they perceive and retain the information.
Encouraging Critical Thinking
Interactive toolkits often include activities that promote critical thinking. They might present your child with scenarios where they have to make decisions or solve problems. These activities encourage children to think about the consequences of their actions and develop problem-solving skills.
For example, a toolkit might include a role-playing game where your child has to navigate different safety situations. They might have to decide what to do if they get separated from you in a crowd or how to react if a stranger approaches them. These scenarios help them practice thinking on their feet and making safe choices.
Receiving Feedback and Tracking Progress
Interactive toolkits often come with tools for tracking progress. This can be very motivating for children. They love seeing their achievements and knowing they’re making progress. Some toolkits include charts where you can mark completed activities or stickers that children can earn.
You can also provide feedback and praise as your child works through the activities. This positive reinforcement encourages them to keep going and try their best. It also gives you a chance to highlight their strengths and areas where they’ve improved.
Building a Supportive Learning Environment
Using interactive toolkits can help create a supportive learning environment at home. They give you the tools to teach important lessons in a structured and effective way. They also provide a shared activity that you and your child can enjoy together.
This shared experience can open up lines of communication and make it easier to discuss difficult topics. It shows your child that learning can be a fun and rewarding part of their daily life. And it gives you peace of mind knowing you’re providing them with valuable skills and knowledge.
Conclusion: The Joy of Learning Together
In conclusion, interactive toolkits are a fantastic way to enhance your child’s learning. They make education fun, engaging, and memorable. By using these toolkits, you can help your child develop important skills and knowledge in a way that feels like play. So why not give them a try? You might just find that you enjoy the process as much as your child does. Happy learning!


